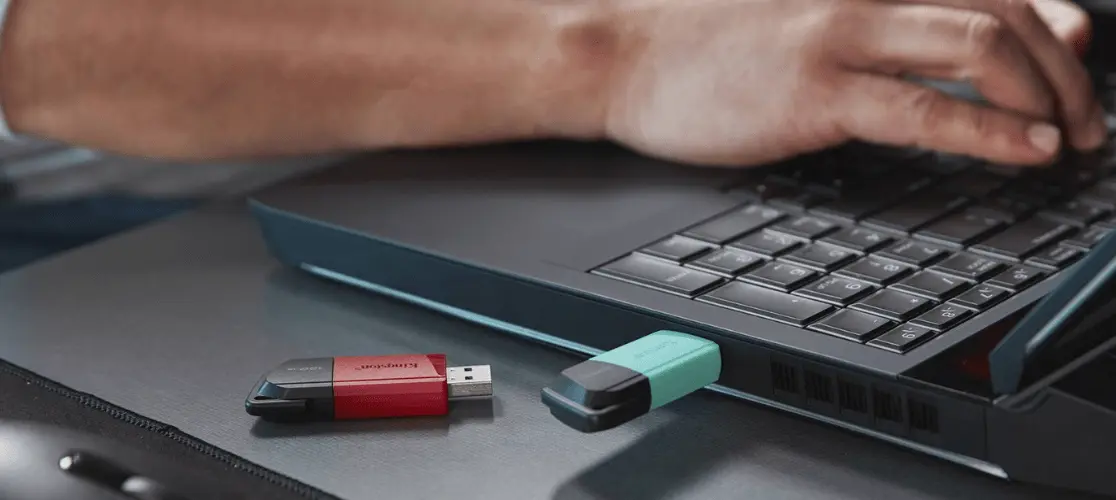
Struggling with a write-protected pen drive? Don't fret! Our quick guide reveals simple steps to remove the lock, whether it's toggling the switch, tweaking settings, or trying on a different system.

Have you ever encountered the frustrating situation where you try to save or modify files on your pen drive, only to be greeted with an error message stating that the drive is write-protected? Write protection on a pen drive can be a real nuisance, preventing you from making any changes to the files stored on it. However, fear not! In this guide, we'll walk you through the process of removing write protection from your pen drive so you can regain full control over your files.
Check the Lock Switch
The first thing you should do when encountering write protection on your pen drive is to check if there is a physical lock switch on the drive itself. Many pen drives come with a small switch that can be toggled to enable or disable write protection. Look for this switch on the side or back of your pen drive and make sure it is in the unlocked position.
Use Diskpart (for Windows users)
If the lock switch isn't the culprit, you can try using the Diskpart utility on Windows to remove the write protection. Follow these steps:
- Press Win + R to open the Run dialog box, then type "diskpart" and press Enter.
- In the Diskpart command prompt, type "list disk" and press Enter to display a list of all connected storage devices.
- Identify your pen drive in the list based on its size and make note of its disk number.
- Type "select disk X" (replace X with the disk number of your pen drive) and press Enter.
- Now, type "attributes disk clear readonly" and press Enter to remove the write protection from the pen drive.
- Once the process is complete, close the Diskpart utility and check if the write protection has been removed.
Modify Registry Settings (for Windows users)
If Diskpart didn't solve the issue, you can try modifying the registry settings on your Windows PC. Here's how:
- Press Win + R to open the Run dialog box, then type "regedit" and press Enter to open the Registry Editor.
- Navigate to the following registry key: HKEY_LOCAL_MACHINE\SYSTEM\CurrentControlSet\Control\StorageDevicePolicies
- If you don't see a "StorageDevicePolicies" folder, right-click on the "Control" folder, select New > Key, and name it "StorageDevicePolicies."
- Within the StorageDevicePolicies folder, right-click on an empty space in the right pane and select New > DWORD (32-bit) Value.
- Name the new DWORD "WriteProtect" and set its value to 0.
- Close the Registry Editor and restart your computer.
- After restarting, check if the write protection has been removed from your pen drive.
Try on a Different Computer or Operating System
If you're still unable to remove the write protection, try plugging your pen drive into a different computer or using a different operating system (such as macOS or Linux). Sometimes, the issue may be specific to your computer's configuration, and using a different system can help bypass the write protection.
Conclusion: Write protection on a pen drive can be a frustrating obstacle, but with the right methods, it can be overcome. By following the steps outlined in this guide, you should be able to remove the write protection from your pen drive and regain the ability to save and modify files with ease. Remember to always handle your storage devices with care and keep backups of important data to avoid any potential data loss.
Related Blogs: How to Edit PDF Document, How to Recover Deleted WhatsApp Chat
Categories: How to
